Today I'm showing you how to make this Homemade Blood Orange Fruit Curd Recipe for my favorite citrus fruit. Fruit curds can be made with any fresh fruit and this one made with blood orange citrus juice and its fragrant zest is a great option when we don't have the lemons or lemon zest to make a homemade lemon curd.
Scroll down to see how we make this and don't forget to print or pin the recipe card for later!
What You'll Love About This Blood Orange Curd
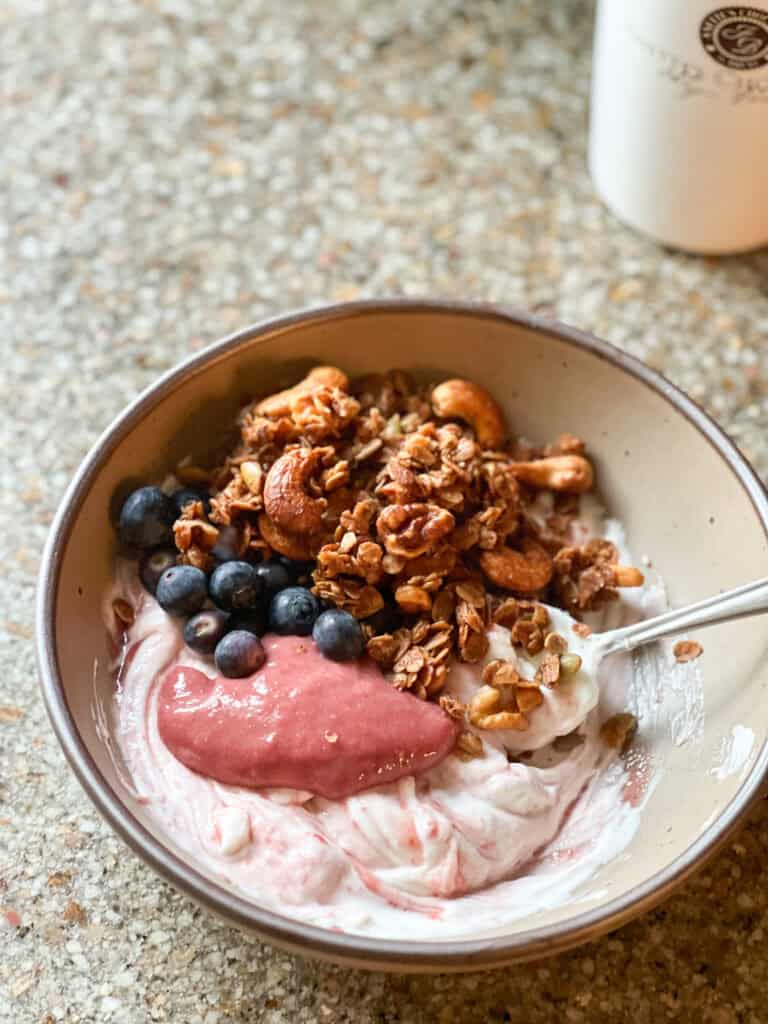
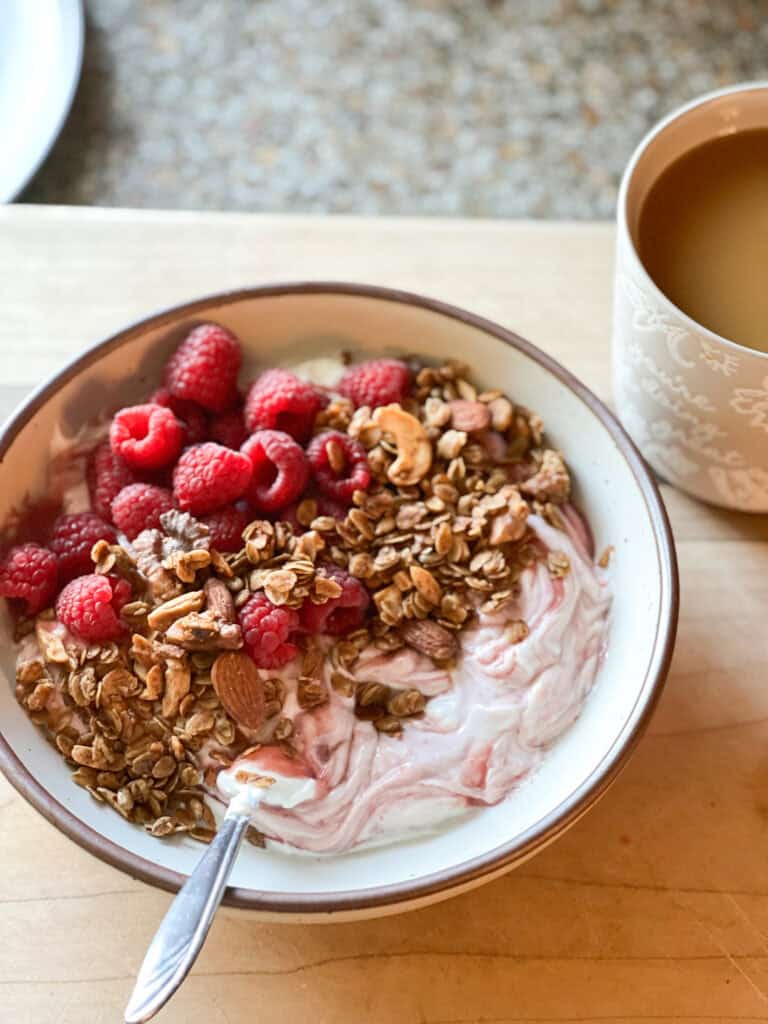
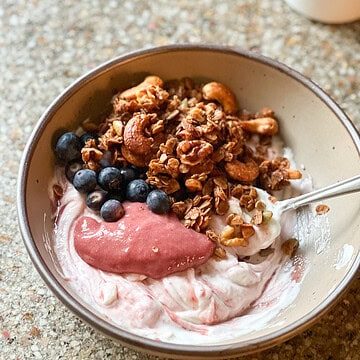
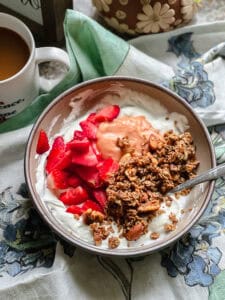
Traditionally, fruit curds are a smooth, sweet, and spreadable dessert made from eggs, fruit juice, sugar, and zest. They are typically made with citrus fruit like lemon, lime, or orange. The blood orange zest and juice in this fruit curd make for a delicious fragrant curd that is perfect for yogurt bowls, spread on scones, or even in a yummy cake filling.
Ingredients for the Blood Orange Curd
This fruit curd is so easy to make and requires just a handful of ingredients. Here is what we'll need:
- 1 tablespoon blood orange zest. The zest perfumes the sugar which really helps to elevate our fruit curd.
- ½ cup granulated sugar. Our sweetener here though we will not use a huge amount of sugar. Our blood oranges are very sweet on their own so a half cup of granulated sugar will work well.
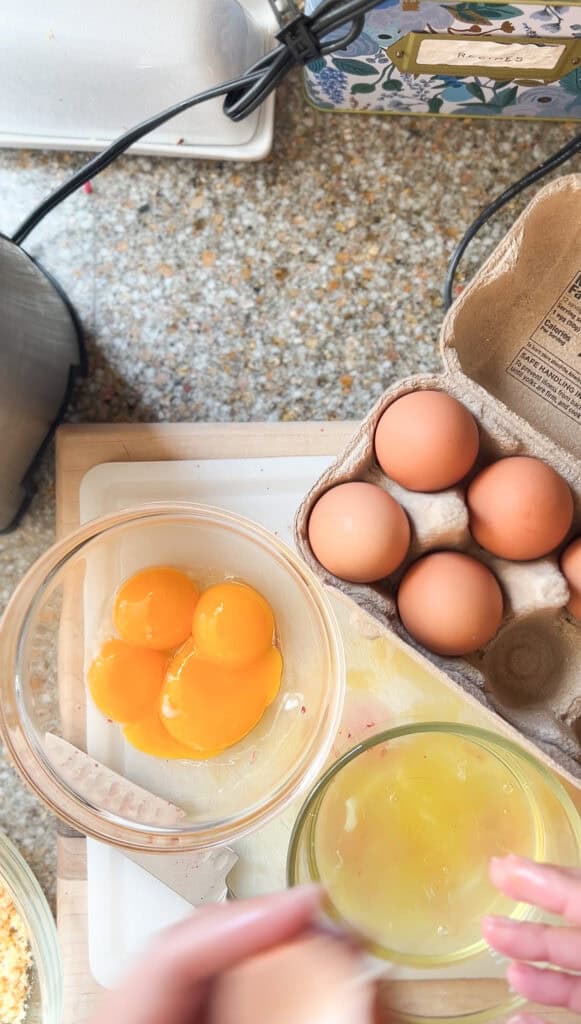
- 4 whole eggs yolks. Fruit curds are made with the egg yolks to help thicken our dessert spread.
- 1 cup blood orange juice from about six blood oranges. To make sure we're using the whole
- ¼ teaspoon kosher salt. Balancing our sweetness here with kosher salt.
- 6 tablespoons unsalted butter at room temperature. We achieve that glossy texture with our unsalted butter. It helps to emulsify our curd to create a rich, smooth, and creamy fruit curd.
How to Make This Homemade Blood Orange Fruit Curd Recipe
We're making this delicious citrus curd in under 20 minutes. Here is how we make it:
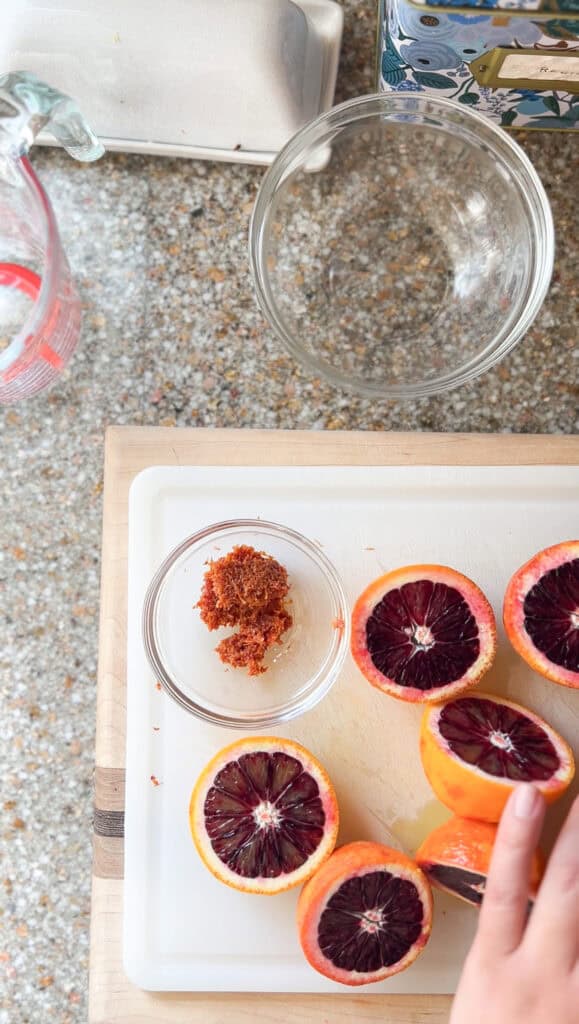
- Begin by zesting the blood oranges and adding the fruit zest to a small bowl. Measure out the half cup sugar in a separate, medium bowl.
- In a medium bowl, mix together the blood orange zest and sugar until well combined. The sugar will turn a lovely pinkish orange color depending on the strength of color of the blood orange’s outer peel. Next, add the egg yolks and salt. Whisk together to combine. Set to the side.
- Bring the blood orange juice to a simmer over medium heat. Once warmed, temper the egg mixture by slowly pouring in a couple tablespoons of the warmed blood orange juice. Whisk to combine so the egg yolks do not curdle. Slowly pour in the remaining juice while whisking to combine the mixture well. Pour mixture into a large saucepan over medium-low heat.
- Stir constantly until mixture is hot but not boiling. You will see foam as the curd cooks, this is okay. Once the foam dissipates, about 10 minutes, add in the stick of butter, one tablespoon at a time, until melted. Continue to stir curd until thickened, about 5 to 10 minutes more. It is ready when it coats the back of a spoon and you can make a line through the center. I like to use the back of a wooden spoon for this. Once it makes a line through the center, the texture of the curd is right where we want it to be.
- Strain the curd into your glass container using a fine-mesh sieve to remove any lumps or small pieces of fruit. Cool completely before storing in airtight container. The curd will keep in the fridge for up to four weeks.
Storage Tips for our Homemade Blood Orange Curd
Your fresh blood orange curd can be stored in the refrigerator for up to two weeks. Store it in an airtight container fitted with a tight lid. You can also place a piece of plastic wrap on the surface of the curd to prevent any film from forming on the top. Alternatively, you can freeze the curd in freezer safe containers for up to 6 months.
This Blood Orange Fruit Curd is such an easy way to make something sweet for breakfast or in desserts. You can use this as a tart filling for your favorite tart shell recipe then top with whole fruit like berries. For more fruit curds, check out this passion fruit curd recipe made with fresh passion fruit.
Homemade Blood Orange Fruit Curd
Ingredients
- 1 tablespoon blood orange zest
- ½ cup granulated sugar
- 4 whole eggs yolks
- 1 cup blood orange juice from about six blood oranges
- ¼ teaspoon kosher salt
- 6 tablespoons unsalted butter at room temperature
Instructions
- In a medium bowl, mix together the blood orange zest and sugar until well combined. The sugar will turn a lovely pinkish orange color depending on the strength of color of the blood orange’s outer peel. Next, add the egg yolks and salt. Whisk together to combine. Set to the side.
- Bring the blood orange juice to a simmer over medium heat. Once warmed, temper the egg mixture by slowly pouring in a couple tablespoons of the warmed blood orange juice. Whisk to combine so the egg yolks do not curdle. Slowly pour in the remaining juice while whisking to combine the mixture well. Pour mixture into a large saucepan over medium-low heat.
- Stir constantly until mixture is hot but not boiling. You will see foam as the curd cooks, this is okay. Once the foam dissipates, about 10 minutes, add in the stick of butter, one tablespoon at a time, until melted. Continue to stir curd until thickened, about 5 to 10 minutes more.
- Strain the curd into your storage container using a fine-mesh sieve to remove any lumps or small pieces of fruit. Cool completely before storing in airtight container. The curd will keep in the fridge for up to four weeks.


Leave a Reply