Let's kick off grilling season with these Stewed Santa Maria-Style Pinquito Beans! Pinquito Beans (pronounced pin-key-toe) are a staple in California style barbecue and with rich origins and history, these beans hold a special place on the table. Read on to learn more about this small but mighty bean and scroll down for a stick-to-your-ribs recipe that will be a standout for your next barbecue cookout.
Pinquito Beans: An Origin Story
There are a few theories on how this bean variety came to be exclusively found and grown in Central California. It is said that Spanish ranchers brought the bean to the area more than a hundred years ago during the time of Franciscan mission building and an abundance of ranch construction. It is believed that Spanish and Mexican ranchers, or vaqueros, grew them on ranches, or el Ranchos. They were known to host large gatherings of friends and families and celebrated with slow cooked meats, simmered beans, and zesty salsas. Thus, this style of BBQ was born. California's Central Coast was, and continues to be, plant rich making it the perfect climate to grow this bean variety.
Santa Maria Barbecue: A Brief History
JD Fabrications BBQ, located in the Santa Maria Valley, offers a helpful historical timeline on the beginnings of Santa Maria BBQ. With origins dating back to the nineteenth century, local ranchers dug large earthen pits to cook whole slabs of beef. Weighing anywhere from 10 to 15 pounds, these cuts of beef were skewered onto thick rods and placed over a hotbed of coals to cook for long hours. The beef was then served alongside local pinquito beans, crusty bread, and a tomato salsa. This formed the beginnings of a style of wood fired cooking that is quintessentially unique to California's Central Coast.
These beans have a taste that is uniquely their own. The size of a seed pearl, they're beefy and robust. Many recipes show a simple ingredient list: a bit of bacon, some chiles, sautéed onion and garlic, and water. The bean is truly the hero here.
Slow & Intentional: Cooking Pinquito Beans
We're using Rancho Gordo's variety of Pinquito Beans for this recipe as they produce such a beefy rich broth. Save that broth as you'll want to use it to finish the beans in the final hours of cooking. A disclaimer: this recipe strays from the traditional Santa Maria Pinquito Bean recipes you'll find. This is still an incredibly delicious way to enjoy this heirloom bean, even if Steve Sando doesn't agree with me with the addition of the ham bone. In truth, I had a ham bone in the freezer from our Christmas Ham that I needed to use and thought these beans would be as good a time as any to use it. The result? So good.
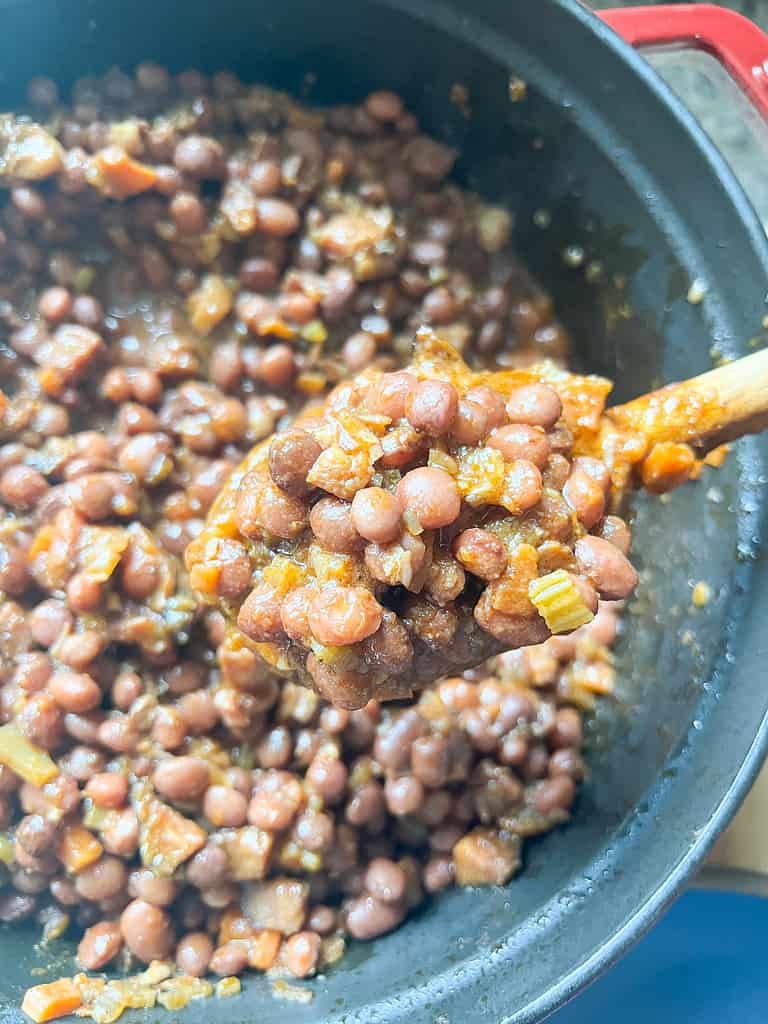
First, we'll sauté our mirepoix in olive oil before adding our dried beans. Next, we'll cover the beans with about 8 cups of stock. We'll simmer the beans on low heat for four to five hours until just tender. During the last hour of cooking, we'll prepare our sauce using cooked ham, spices, more aromatics, and a bit of the bean broth. Once the sauce is ready, we'll strain the beans and reserve about 2 to 3 cups of bean broth. We'll combine the beans, broth, and sauce together then give it a final simmer before serving it up to enjoy.
We started the beans at 8am and they were ready to eat by 5pm. It's truly worth the effort. Prep these the day before if bringing to your next family cookout or potluck.
What to serve with Stewed Santa Maria-Style Pinquito Beans
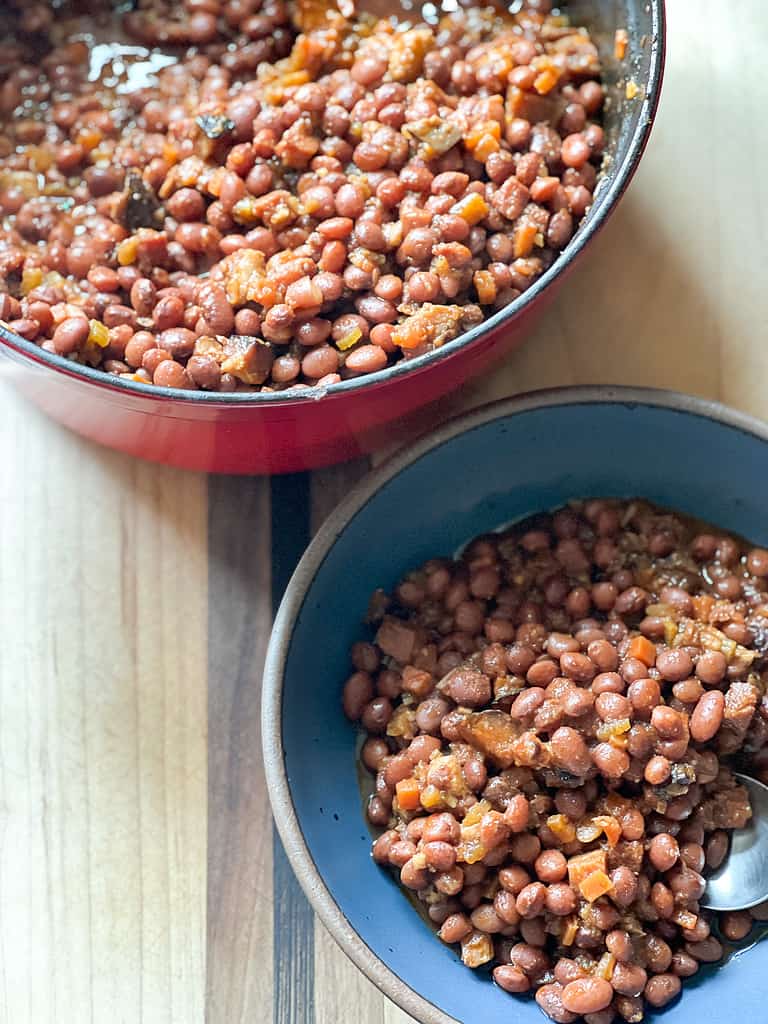
These beans will be a go-to for your summer barbecue gatherings. Serve them with tri-tip, Santa Maria Style. You can also serve them with other grilled meats or chicken. The beans are beefy in their own right so you can also keep the meat in the side and enjoy these on their own.
A good crusty sourdough, French, or focaccia bread would also be excellent here. Corn or flour tortillas also would be excellent accompaniments to soak up the bean broth. Trust.

Stewed Santa Maria-Style Pinquito Beans
Equipment
- 1 3 quart saucepan
Ingredients
- 1 pound dried pinquito beans I recommend Rancho Gordo brand.
- 8 cups stock of choice beef or vegetable work well here, but you can also use chicken stock.
- 3 cloves garlic, whole
- 1 ham bone from one smoked, fully cooked ham
- 6 tablespoons olive oil divided
- 1 cup diced yellow onion divided
- 1 cup diced carrots divided
- 1 cup diced celery divided
- 8 ounces smoked fully cooked ham diced into ¼ inch chunks
- 2 cloves minced garlic
- 2 teaspoons kosher salt
- 1 teaspoon ancho chili powder
- ¼ teaspoon cayenne pepper
- 2 tablespoons brown sugar light or dark variety
- 1 teaspoon dry mustard
- 1 teaspoon paprika
- 3 tablespoons tomato paste
- 3 cups bean broth
- 2 tablespoons Worcestershire cause
- 1 sprig fresh thyme
- 1 sprig fresh rosemary
Instructions
- Rinse and sort beans. Set aside in a large bowl.
- Heat 3 tablespoons olive oil in a large, heavy bottomed pot or dutch oven. Add ½ cup diced carrots, ½ cup diced onion, and ½ cup diced celery and cook until translucent, about 5 minutes. Season with two generous pinches of kosher salt and black pepper. Add beans and cover with the 8 cups of stock. Bring to a simmer and cook the beans until tender, about 4 to 5 hours.
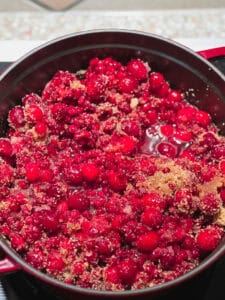
- During the last hour of the beans simmering, heat the remaining 3 tablespoons of olive oil over medium heat in a large saucepan. Add remaining carrots, onion, and celery and cook, stirring occasionally, about 3 minutes. Add ham and garlic and cook for another 3 minutes until ham begins to brown slightly. Add salt, ancho chili powder, cayenne pepper, brown sugar, dry mustard, and paprika. Cook while stirring for 1 minute until spices begin to smell toasty. Add in tomato paste, 1 cup bean broth, and Worcestershire sauce. Add the fresh thyme and rosemary sprigs. Bring mixture to a simmer over medium-high. Reduce heat to low, and cook, stirring occasionally, 20 minutes. Remove from heat, and set aside.
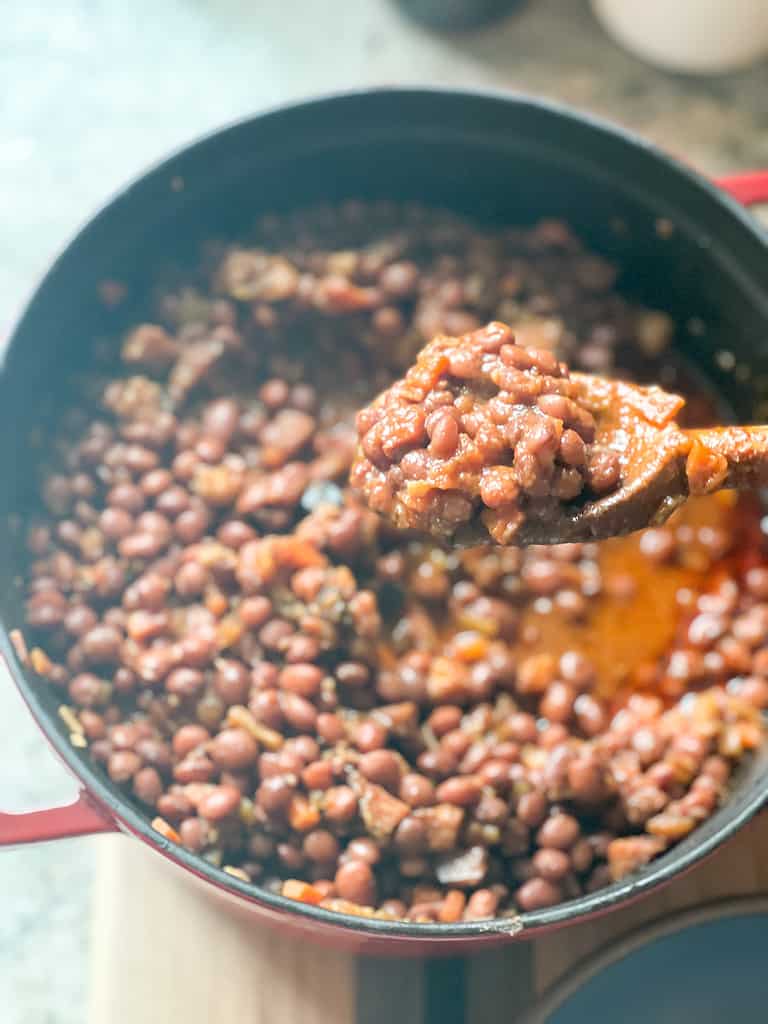
- Drain beans, reserving about 3 cups bean broth. Return beans and reserved cooking liquid to dutch oven then stir in sauce. Simmer beans over low heat to allow all the flavors to meld together and beans become very tender, about 30 to 40 minutes. Serve.


Leave a Reply