I couldn’t believe how easy it was to make this Homemade Cottage Cheese Recipe, but it really is so easy. It uses just a few simple ingredients and takes only about 20 minutes of hands-on time. If I can pull it off, you can too. Let’s make it together.

Over time, I’ve started swapping in more homemade staples during our weekly meal prep, like homemade fig jam and raspberry compote. It really comes down to two things: stretching the grocery budget and having more control over ingredients.
After spotting thickening agents like xanthan gum and sky-high sodium in store-bought cottage cheese, I figured it was worth trying to make our own.
I adapted this version from a method by David Lebovitz, and it’s quickly become a favorite. In under an hour, you’ll have a creamy, satisfying cottage cheese that gives store-bought brands a serious run for their money. Scroll down for the easy, step-by-step guide and ingredient list to get started.
Jump to:
Why You'll Love This Recipe
- Simple Farm Fresh Ingredients: It's truly a simple recipe using only basic ingredients you may already have in your kitchen. Try our homemade clotted cream recipe next!
- Beginner Cheese Making Recipes. It's a great way to start learning to make your own cheese if you want to learn how. Bonus: It's also the best way to use up any half-gallon of milk that hasn't been used yet.
- Easily Customizable: This recipe version is akin to the texture of farmer cheese in that we remove a good amount of moisture when making it. The good news? You can customize the texture of this farmer's cheese so it's just right for your recipe needs, like using it to make homemade meat lasagna with cottage cheese in place of the ricotta.
Ingredients for Cottage Cheese
We don't need special ingredients to make different types of cottage cheese, but rather draw from a simple list of ingredients. Here's a look at the different components and why they are important.
- Fresh milk: This recipe uses whole milk but you can use low-fat milk or skim-milk as well if wanting to control the amount of milk fat in your fresh cottage cheese. My only recommendation is to use the best quality kind of milk you like. I love using the organic milk by Clover Sonoma to make homemade cottage cheese.
- Lemon Juice: Lemon juice provides the acidity that helps the milk proteins to coagulate, resulting in the milk clumps which become the cottage cheese curds. Fresh lemon juice adds a hint of lemon flavor in the cottage cheese that I personally love.
- Kosher Salt: A small amount of kosher salt helps our tastebuds enjoy the flavor of our cottage cheese. A little goes a long way. Start with a quarter teaspoon and adjust to your taste preference.
- Heavy Cream: An optional ingredient that creates a smaller curd and creamier texture. Heavy cream is an easy way to finish the cottage cheese.
Scroll down to the recipe card for the full ingredient list with the quantities of each one.
How to Make Homemade Cottage Cheese
- Step 1: Heat the milk. Warm the milk in a large heavy-bottomed pot over medium heat until it reaches approximately 190°F. As it heats, use a wooden spoon to stir the milk to prevent it from burning.
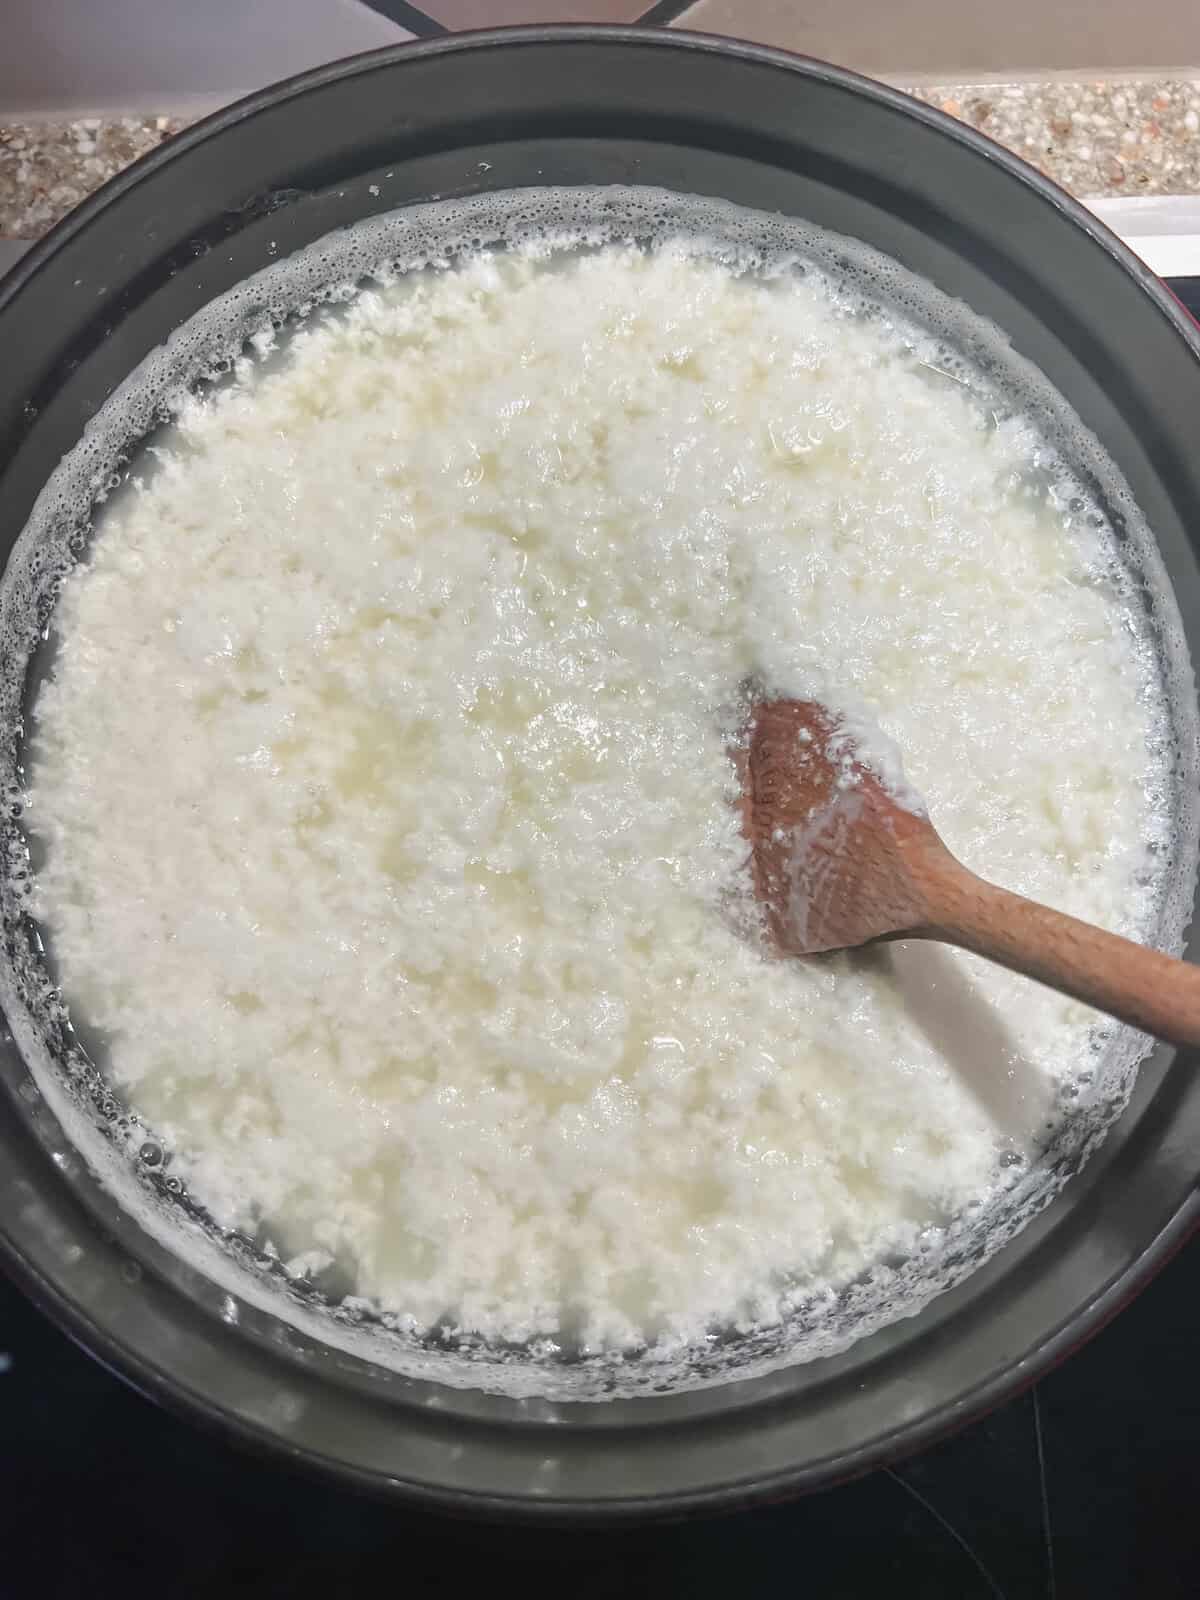
- Step 2: Add the lemon juice. Remove the heated milk from the stove and add the lemon juice to the warmed milk. Stir with your wooden spoon. You should start to see the milk curdle immediately.
- Step 3: Let it rest. Once curdling begins, cover the pot with a lid and let the milk mixture rest for approximately thirty minutes.
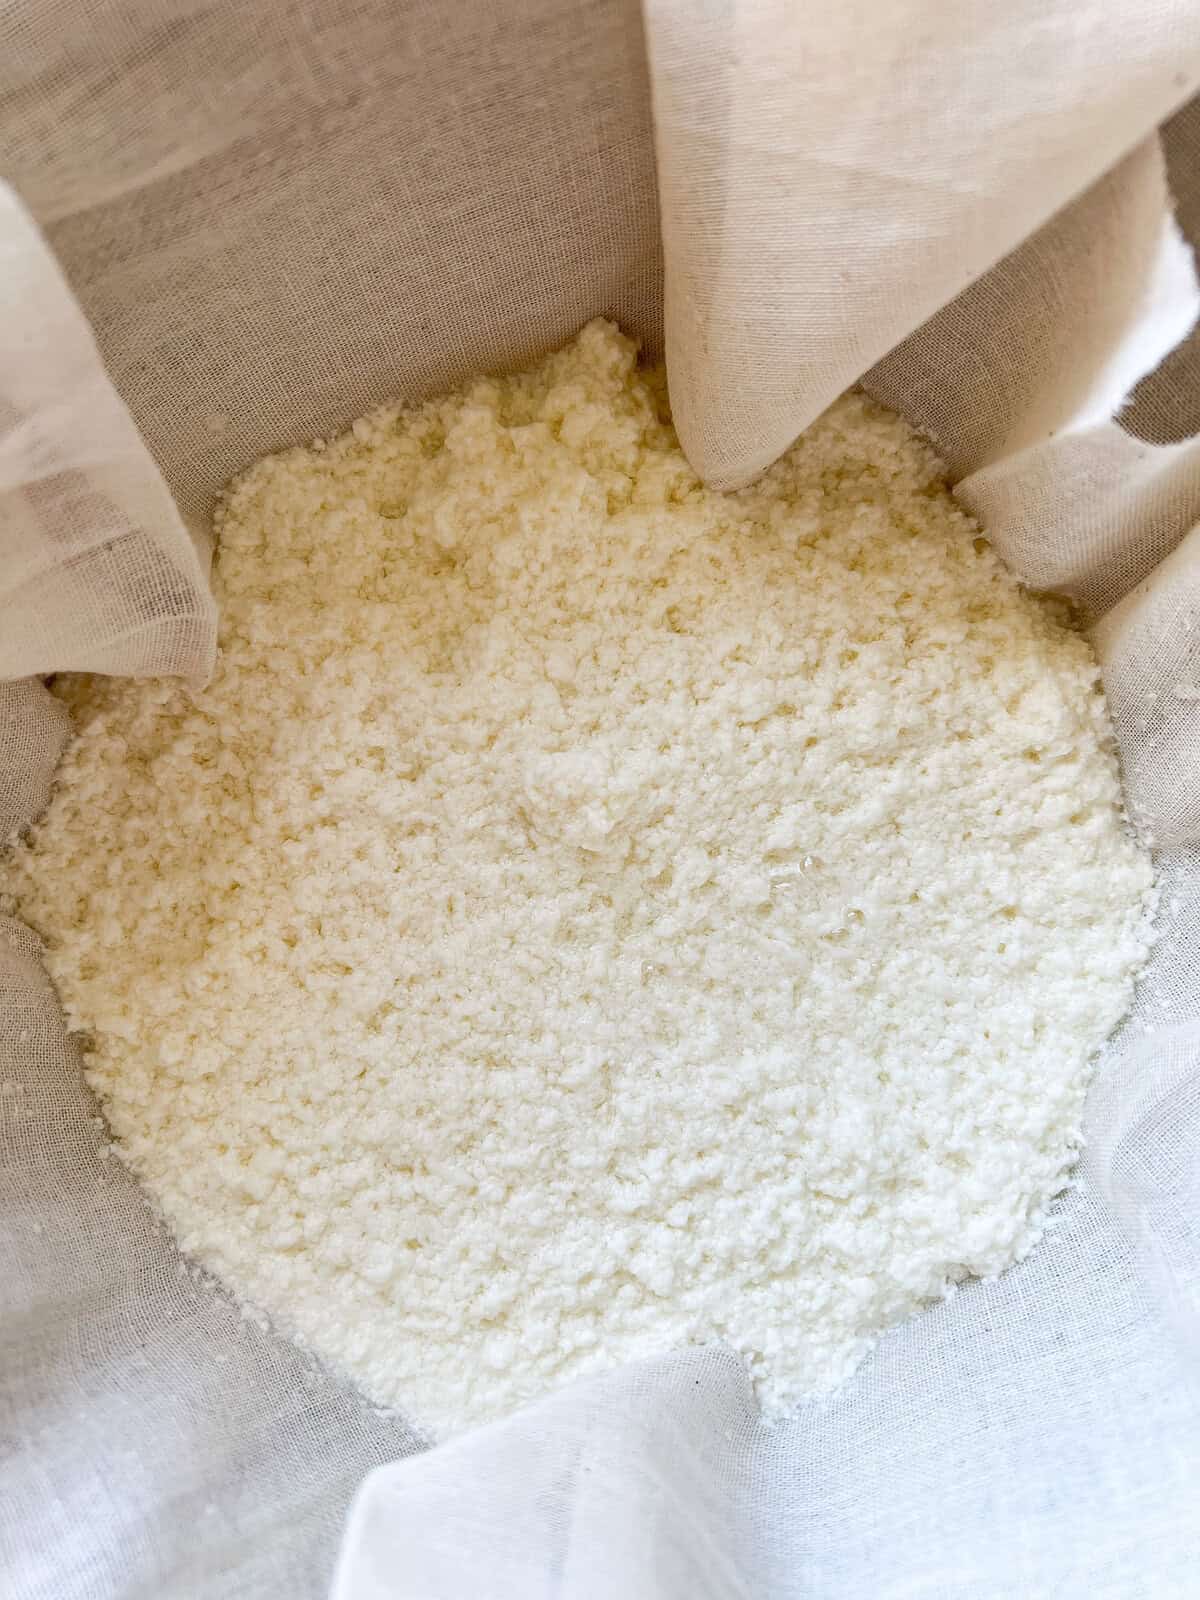
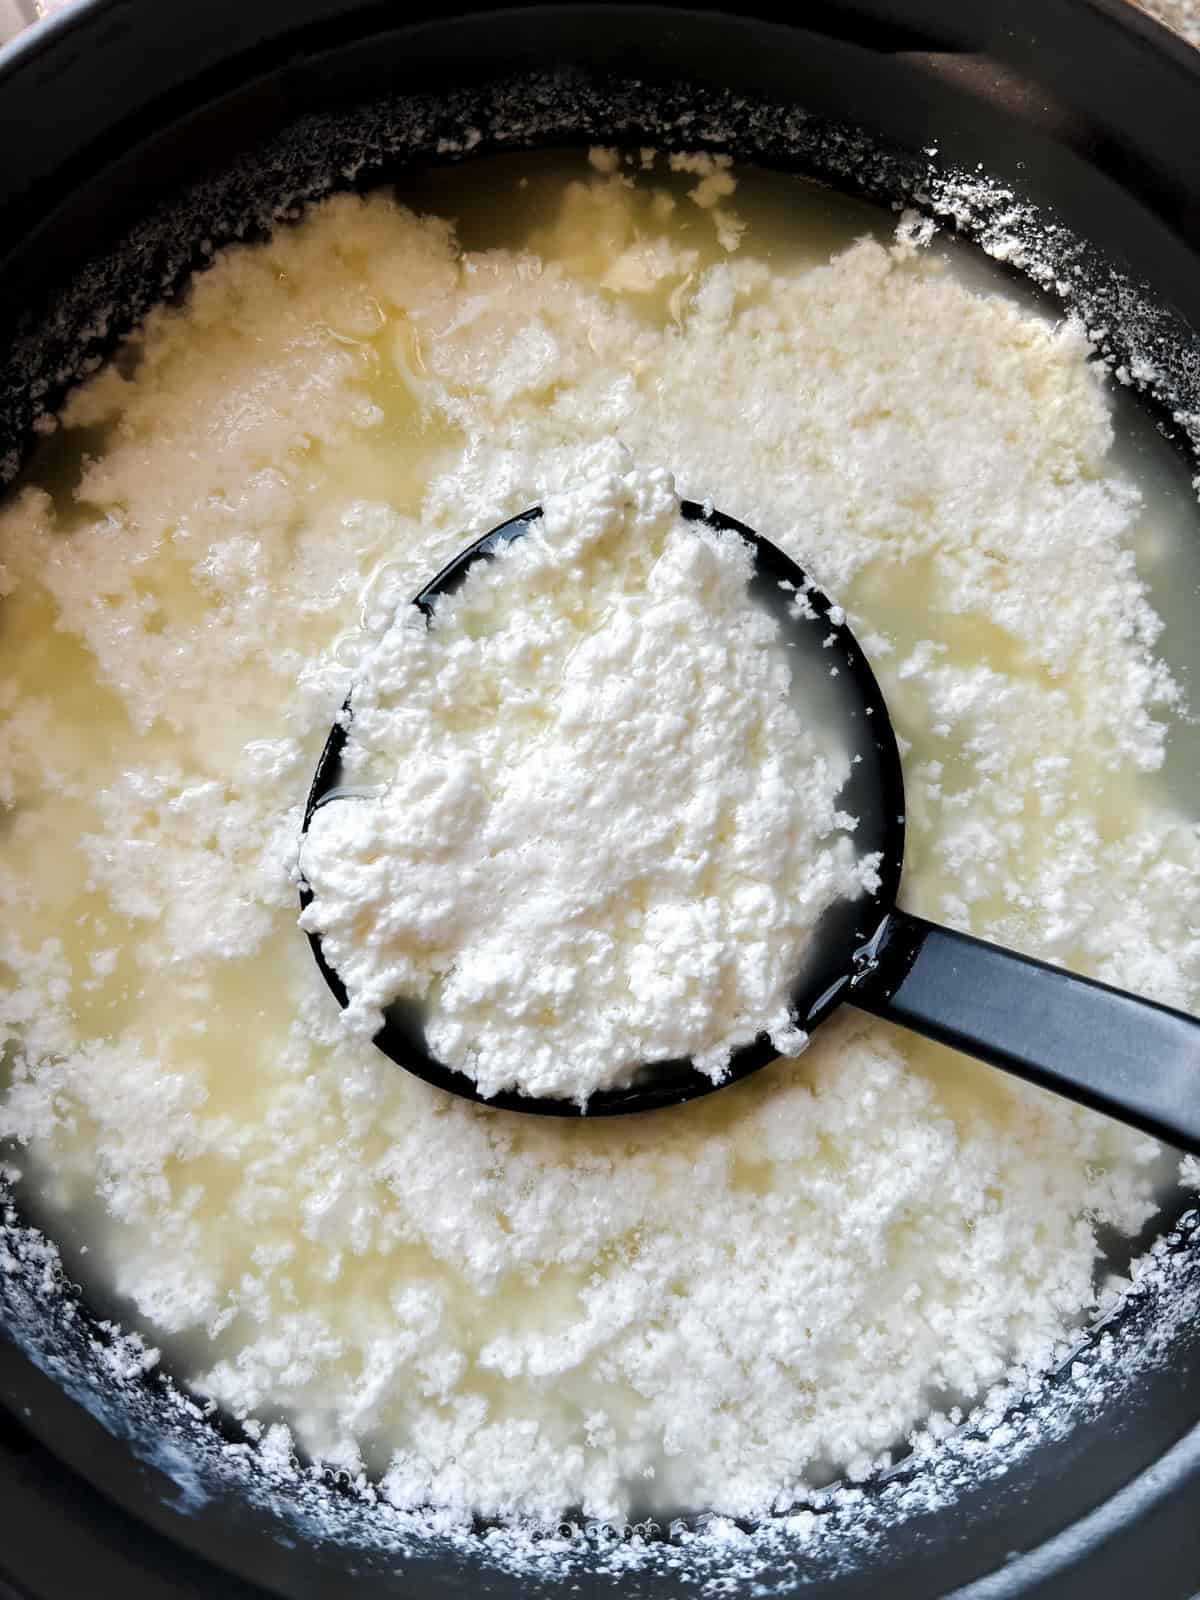
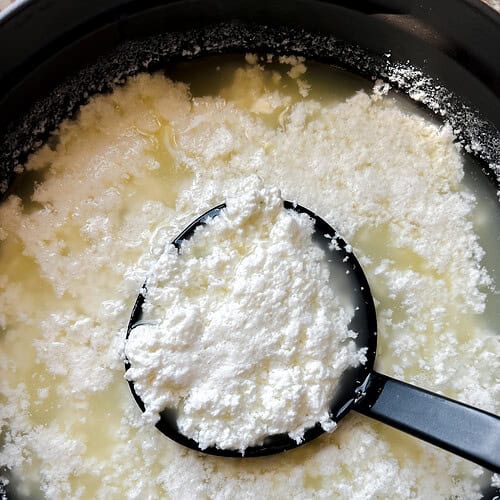
- Step 4: Transfer to strainer. Use a slotted spoon to scoop out the cottage cheese solids from the pot into a cheesecloth-lined colander placed over a large bowl. Allow the cottage cheese solids to drain into the bowl for approximately 10 minutes or until the dripping has slowed down.
- Step 5: Squeeze. Gather the ends of your cheesecloth or nut milk bag and begin wrapping the cheese tightly into a ball. Hold the ball in one hand and run cold water over it while squeezing it gently with your other hand. This will help to cool the cottage cheese solids evenly as you squeeze out any remaining liquid.
- Step 6: Break it up. Place the ball of strained cheese curds into a clean bowl. Use a wooden spoon to break up the cottage cheese curds into smaller curds to your desired size. Season to taste with a little salt.
- Step 7: Make it creamier. Stir in a couple of tablespoons of heavy cream into the mixture. Give it a gentle stir until it reaches the desired consistency. If you want to add more cream, add in a tablespoon more each time between stirs.
- Step 8: Store. Once your cottage cheese is at the texture and taste you like, transfer it to your storage container of choice.
Expert Tips
- Heat to the Correct Temperature. If you remove it prematurely, your cheese may not curdle. From numerous recipe tests, I found a temperature of between 180 and 190°F works well in order to support cheese curdling.
- Chill First: Chill your cottage cheese for at least an hour before serving. This allows the flavors to settle and for it to continue to cool down.
- Save the Leftover Whey! This is the liquid that results from straining the cottage cheese. Whey is packed with protein and works as a great alternative to whey powders. I like to freeze the liquid whey into cubes and then toss them into my smoothies for added protein.
Serving Suggestions
Once you've made your cottage cheese, it's time to enjoy it! A few of my favorite combinations:
- Pump up the Protein on Pancakes: Blend cottage cheese with buttermilk for the perfect base for cottage cheese pancakes.
- Make a savory breakfast bowl: Mix cottage cheese with a quarter of an avocado and layer in a shallow bowl. Add a bed of roasted carrots and asparagus or other CSA box veggies (spinach, chard, and peppers are great), top with a fried egg, salsa, and chopped fresh herbs like chives or cilantro. Toast up an English muffin and you've also got an impromptu whipped cottage cheese dip!
- Make a sweet breakfast bowl: Stir together your cottage cheese with a splash of maple syrup or honey. Sprinkle in a bit of ground cinnamon and top with your favorite fresh fruit like berries or citrus, and some maple granola or honey nut granola.
- Make a pasta sauce: Treat this like homemade ricotta cheese and make a creamy pasta sauce. Whisk together the cottage cheese with a bit of heavy cream and season with kosher salt and black pepper. For a tomato-based sauce blend the cottage cheese with your favorite homemade tomato sauce or marinara. Toss with pasta and a grate of any of your favorite hard cheeses like pecorino or parmesan.
- Make a dip: Blend cottage cheese with a bit of sour cream and a few of your favorite ranch dip seasonings for a protein-packed dip for game day chips.

Homemade Cottage Cheese FAQs
Yes! You can use distilled white vinegar as a substitute if you don't have lemon juice. I haven't tried other acidic ingredients like apple cider vinegar, but since they are also an acid, they will work to create the curds but may influence the flavor as well.
I honestly cannot speak to how these lactose-free or non-dairy products will react to the process, but I do know that you can make this cottage cheese recipe with low-fat, skim milk, or non-fat type of milk. If you try it with goat milk, nut milks, or a lactose-free milk, let me know how it goes!
Store your homemade cottage cheese in an airtight container. A glass jar works or deli containers are great too. I use these deli containers to portion out the cottage cheese. The shelf life is likely a little shorter compared to store-bought brands because we are not including any additional additives, thickeners, or preservatives. Plan to enjoy your fresh batch of cottage cheese within 7 days after making it. If using milk that is close to its expiration date, consume the cottage cheese within 3 to 5 days.
There are a few different ways to know if your cottage cheese is beginning to spoil. I employ the sight-smell-taste rule. Sight: Is it showing signs of mold? Smell: Is there a rancid sour milk scent or does it smell foul? Taste: Trust your taste buds here. Is it overly tangy or does it taste sour? If the answer is yes to any of these and you're past the 7-day mark, the cottage cheese has likely spoiled. When in doubt, toss it out.
You don’t need any special equipment to make cottage cheese at home. All it requires is a few basic kitchen tools. A heavy-bottomed pot or Dutch oven (like my 4-quart Staub) works perfectly for gently heating the milk. You’ll also need a thermometer to make sure it reaches the right temperature (180–190°F), a wooden spoon for stirring, and a slotted spoon for scooping the curds. A colander lined with cheesecloth helps strain out the whey, and two large bowls—one for draining and one for mixing in seasonings—keep things tidy. Once it’s ready, store your cottage cheese in an airtight container in the fridge.
More Homemade Ingredients


If you make this, please let me know how it went in the comments or tag me on social media! Tag me on Instagram or on my Facebook page. Cheers to the next nourishing meal. 🧡
Homemade Cottage Cheese with Lemon Juice
Equipment
- 1 piece of cheese cloth for straining cheese; you can also use a nut milk bag
- 1 slotted spoon for separating the cheese curds from the whey
- 1 wooden spoon
- 1 large colander
- 1 food thermometer to measure temperature during the warming process
- 1 airtight storage container for storing the cottage cheese once prepped
- 2 large bowls one for straining; one for preparing cottage cheese for transfer to storage container
Ingredients
- ½ gallon of whole milk you can also use low-fat or non-fat milk
- 6 tablespoons fresh lemon juice you can also use distilled white vinegar or bottled lemon juice
- Pinch of kosher salt to taste
- 2 tablespoons heavy cream optional
Instructions
- Pour the milk of your choice into a large heavy bottomed pot or dutch oven. Warm the milk to approximately 190 degrees Fahrenheit. Using a wooden spoon, gently stir milk occasionally so it doesn't burn on the bottom of the pot.
- Once milk is heated to temperature, remove from heat. If you remove it prematurely, your cheese may not curdle. A temperature of between 180 and 190 degrees works well in order to support cheese curdling.
- Add the 6 tablespoons of lemon juice to the warmed milk and stir using the wooden spoon. You should start to see the milk curdle immediately. Once curdling begins, cover the dutch oven with its lid and let milk mixture rest for approximately thirty minutes.
- While the milk curdles, prep your straining apparatus by lining a colander with cheese cloth or a nut milk bag. Place the colander over a large bowl just in case anything drips out when you drain the cheese solids.
- Using a slotted spoon, scoop out the cottage cheese solids from the pot into the cheesecloth lined colander. Allow the cottage cheese solids to drain into the bowl for approximately 10 minutes or until the dripping has slowed down. If you don't have a slotted spoon, you can use a normal spoon but the draining process may take a bit longer.
- Once your cheese is drained, gather the ends of your cheesecloth or nut milk bag and begin wrapping the cheese into a ball tightly. Hold the ball in one hand and run cold water over it while squeezing it gently with your other hand. This will help to cool the cottage cheese solids evenly as you squeeze out any remaining liquid.
- Place the ball of strained cheese curds into a clean bowl. Use a wood spoon to break up the cottage cheese curds into smaller curds to your desired size. Season to taste with kosher salt. I like to start with about ¼ teaspoon and build from there. It honestly does not need a lot of salt.
- If you want creamier texture to your homemade cottage cheese, add in a couple tablespoons to the mixture. Give it a gentle stir until it reaches the desired consistency. If you want to add more cream, add in a tablespoon more each time between stirs.
- Once your cottage cheese is at the texture and taste you like, transfer it to the storage container of choice. Chill your cottage cheese for at least an hour before serving. Your homemade cottage cheese is best if eaten within 7 days. If using milk that is about to spoil, consume the cottage cheese within 3 to 5 days. Signs of spoilage include: foul odors, signs of mold, or a very sour bitter taste.


Pamela says
Can you use raw milk for this recipe?
Frances Kellar says
You can use raw milk. Just know that in the process of curdling the milk for cottage cheese we are heating the milk to a temperature of 180 to 190 degrees Fahrenheit. Once heated to temperature, we'll add the lemon juice to begin the curdling process that paves the way for cottage cheese. Hoping this answer is helpful!
Anne Doyle says
What do you do with the whey afterwards?
Frances Kellar says
There are lots of uses for the whey after making cottage cheese; definitely liquid gold! I tend to use it for cooking pasta or in using for smoothies or cooking morning oats for an added protein boost.
Eva Kampa says
Great recipe, thank you!!! I would like to ask you if you know how to calculate macros in this cottage cheese.
Frances Kellar says
So glad you like it, Eva! And that's a great question; I'm working on adding a nutritional info feature to the recipe cards so stay tuned for that. In the meantime, I am tracking my macros using MacroFactor and find that a half cup serving of cottage cheese made with whole milk contains about 12 grams protein, 4 grams fat, and close to 4 grams carbohydrates. Hope that's helpful!
MtSnow says
And the fat content is dependent on using skim, liwfat or whole milk, and how much cream is added back in.
Frances Kellar says
Yes, fat content will depend on what type of milk you're using. For us, we use whole milk only because it's what my kids like to drink or use in their cereals too. I've made this also with lowfat milk and works just as well. As for the heavy cream, it's completely optional and I usually start with 2 tablespoons, as noted in recipe card. You can definitely add more for a creamier consistency but that's totally up to you. I even have added in a couple tablespoons of kefir as a substitute for the heavy cream for a probiotic boost!