Sweet, tangy, and just a little exotic, this homemade Guava Paste Recipe transforms fresh guavas into a smooth paste that stores well, giving you a way to enjoy their tropical flavor long after the season ends. From cheese boards to pastries, the ways to enjoy it are endless.

Featured ⭐️⭐️⭐️⭐️⭐️ Comment
This homemade guava paste recipe is such a delightful find! It's a game-changer for my pastries - perfect for my holiday baking!
MacKenzie
Earlier this winter, our CSA box surprised us with a handful of small green fruits that smelled like pure sunshine. A quick note to our friends at Sage Mountain Farm confirmed they were pineapple guavas—a fragrant variety with a citrusy, floral aroma that fills the kitchen the moment you slice into them.
Their unique flavor makes them a joy to experiment with, and turning them into homemade guava paste is one of the easiest—and tastiest—ways to preserve that tropical flair for desserts and beyond.
Looking for more ways to preserve and stretch fresh fruit? Try my stone fruit compote and blueberry butter next!
Jump to:
Why You Will Love This Recipe
- Seasonal & Local – Made with pineapple guavas straight from our CSA box, it’s a recipe that celebrates what’s fresh and available right now. It easily adapts to other varieties of guava you find at your market.
- Easy to Make – Just fruit, sugar, and a little patience—no complicated steps or special equipment required.
- Naturally Delicious – Floral, tangy, and sweet all at once, this paste brings a little taste of the tropics to your next cheese board, stuffed into pastries, swirled into yogurt, or simply spread on toast or a stack of cottage cheese pancakes.
Ingredients
Making this homemade fruit paste is a definite labor of love, but the ingredient list is very short, and I promise, it's well worth the effort.

- Fresh Pineapple Guava: We are using about 2.5 pounds (1133 g) of these fragrant pineapple guavas to help make the pureed guava fruit that paves the way for our paste. You can also use any variety of guavas you can find at your local farmers' market or local grocery store.
- Lemon: One small lemon that is zested and juiced helps to thicken the puree, creating a paste with its natural pectin. You can also use lime juice here as the flavor profile is not significantly changed in swapping between the two citrus fruits.
- Granulated Sugar: Sugar helps balance the tangy taste of the slightly tart fruit.
See the recipe card further down the page for the full ingredient list with quantities.
How to Make Guava Paste
Making this paste takes about an hour and a half, with some hands-on steps along the way. Grab a stainless steel saucepan, your Vitamix blender, the fresh guavas, and all the other ingredients you need, and let's get started.

Step 1: Prep. Rinse the guavas and then slice each one in half. Scoop out the flesh and add it to a large bowl.

Step 2: Cook. Add the pineapple guavas to a saucepan and cover with enough water to submerge them. Cook the pineapple guavas until they are tender.
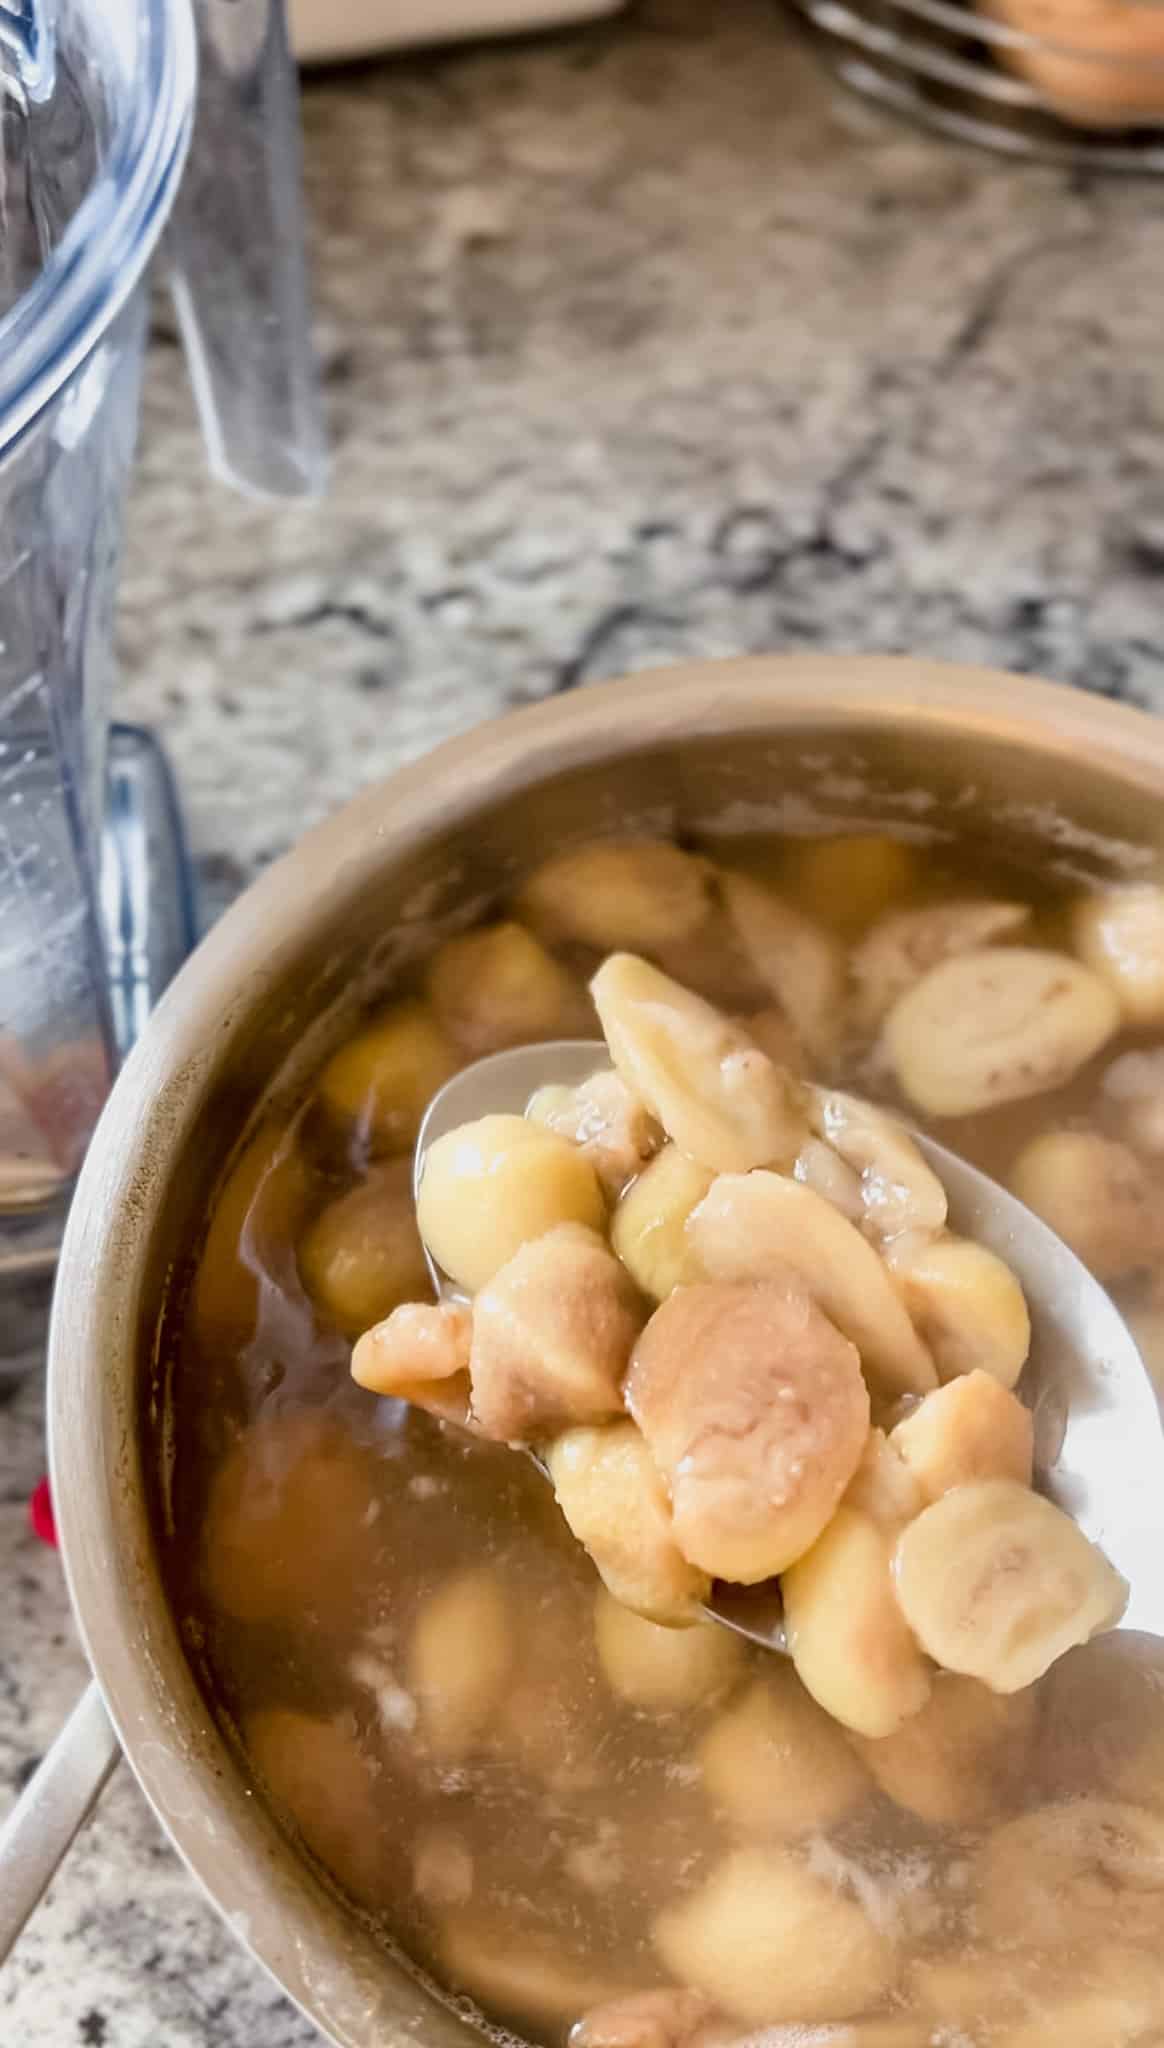
Step 3: Blend. Transfer the cooked guava fruit to a blender and blend until smooth.

Step 4: Strain. Strain the puréed pineapple guavas to remove any remaining seeds. Pour it back into the saucepan. Add the lemon juice, lemon zest, and granulated sugar. Continue to cook for 40-45 minutes, stirring constantly. The paste is ready when it holds a line drawn down the middle of the bottom of the saucepan and does not immediately pool back together.
- Step 5: Cool. Pour the thickened paste into an 8-inch by 8-inch baking dish lined with parchment paper. Place it in the fridge to chill overnight.
- Step 6: Slice. Once it's set, turn it out onto a parchment-lined cutting board and slice it into small squares or bars. It will be slightly sticky to work with, so slicing it on parchment paper or wax paper works well.
Expert Tips
- Paste too runny? Just keep simmering. It will thicken as the water cooks off.
- Paste too firm? Reheat the paste with a splash of hot water or juice to loosen it back up.
- Burning or sticking to the pan? Use a heavy-bottomed, non-reactive pot and stir, stir, stir, especially near the end of cooking.
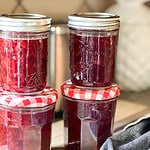
- Store it. Wrap the portioned paste in wax paper or parchment paper and store in a reusable bag or an airtight container in the refrigerator for up to 3 months.
How to Use Your Guava Paste
Now, for the fruits of our labor! Literally and figuratively. After the time and investment to craft this delicious homemade paste, it's time to enjoy it!
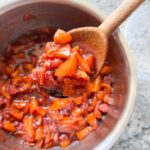
- Turn it into jam. Cook down the paste with a bit of water to make the best guava jam for homemade buttermilk scones or to spread on a banana chocolate chip muffin. This can also make a delicious cake filling!
- Heat it with some BBQ sauce. Create a guava BBQ sauce from the paste to baste a whole roast chicken, roasted chicken thighs, or to glaze a pork tenderloin for an insanely delicious dish!
- Bake with it. Use it to make classic guava pastelitos or try my recipe for guava and cream cheese pastries! Both are delicious guava pastries to serve alongside an energizing cup of coffee.
Recipe FAQs
The best way is the spoon test. Drag a spoon through the mixture in the pot If it leaves a clean line that doesn’t immediately fill in, it’s ready. The paste should look glossy and thick.
This usually means the heat is too high. Keep it at a gentle simmer and stir often. A heavy-bottomed pot also helps prevent scorching, which can change the flavor and color.
Yes! Once fully cooled, wrap tightly or portion into freezer-safe containers. The paste keeps its flavor and texture for up to six months.
Pineapple guavas have a more floral, citrusy note, while common pink guavas are sweeter and more tropical. Both work well, but paste made with pineapple guavas will be slightly tangier and lighter in color.
More Recipes to Preserve Fresh Fruit


If you make this, please let me know how it went in the comments or tag me on social media! Tag me on Instagram or on my Facebook page. Cheers to the next nourishing meal. 🧡

Homemade Pineapple Guava Paste Recipe
Equipment
- 1 4 quart saucepan
- 1 high-performance blender
- 1 mesh strainer
- 1 mesh or stainless steel colander
- 1 8 x 8 inch baking pan
Ingredients
- 1133 grams pineapple guavas (or regular guavas); approximately 2.5 pounds
- 4 cups water
- 1 small lemon zested and juiced
- 680 grams granulated sugar approximately measured 2.5 cups
Instructions
- Rinse your pineapple guavas and slice in half on the vertical. Scoop out the flesh and place in saucepan. Fill saucepan with enough water to cover the pineapple guavas. Bring to a bowl over medium heat and simmer, stirring occasionally, approximately 20 minutes or until pineapple guavas are tender and soft that they break when a spoon pushes them against the side of the saucepan.
- Using a slotted spoon, carefully scoop the hot pineapple guavas into the blender cup and blend on low-medium speed until smooth. Pour guava purée into the saucepan that's fitted with a mesh strainer to discard the seeds. This should yield approximately 6 cups of pineapple guava purée.
- Place the saucepan back on the stove and add lemon juice and zest. Bring mixture to a boil and add the sugar, in batches, about 1 cup at a time. Stirring constantly, cook the guava paste mixture for 40 to 45 minutes or until the guava paste holds a line drawn down the middle of the bottom of the saucepan and does not immediately pool back together.
- Transfer the guava paste to a 8 x 8 inch parchment-lined pan. Cool overnight in the fridge to allow the paste to firm up.
- The next day, turn out the paste onto a parchment lined cutting board, cut into desired portion sizes and store wrapped in parchment paper in an airtight container in the fridge for up to 3 months.
Notes
- Using regular guavas. There is no need to scoop out the flesh. Give the guavas a good rinse to wash off any dirt on the outer skins and then dice it into ½ inch chunks. The seeds and skin fibers will be removed prior to finishing the paste on the stove when we strain it.
- Paste is ready. The guava paste is ready when you run a spoon to draw a line down the middle of the bottom of the saucepan, and it doesn't immediately pool back together.


Mackenzie says
This Homemade Guava Paste recipe is such a delightful find! It's a game-changer for my pastries - perfect for my holiday baking! I'm curious, could this paste be frozen for longer storage, or do you recommend any specific preservation methods?
Frances Kellar says
So glad you love it! It's such a treat when the guavas come in our produce box. You can definitely freeze it for longer term storage. If opting to freeze it, wrap portioned pieces of guava paste tightly in parchment paper then store in an airtight container or freezer safe bag for up to a year! The guava paste will keep in the refrigerator for up to 3 months when stored in an airtight container as well.